
 Alexandro
Table of Contents
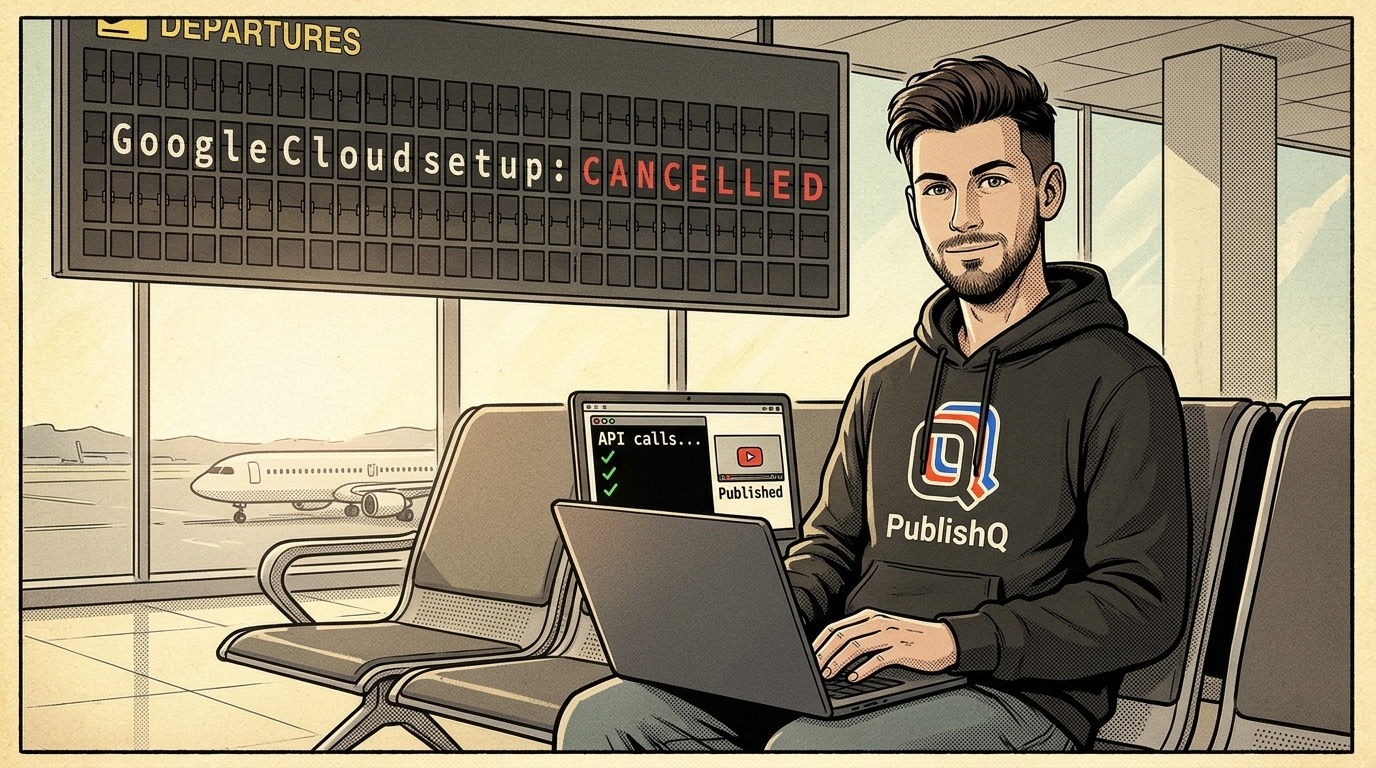
You can upload a video to YouTube through an API in three calls, and you never create a Google Cloud project, configure an OAuth consent screen or wait for API approval. Connect your channel to PublishQ once in the browser, create an API key, then: list your accounts to get the YouTube account ID, upload the video file, and create a post with that account and that video. The video goes live on your channel, or at the time you schedule.

The rest of this page shows the exact curl commands, what Google asks of you if you build on the YouTube Data API yourself, and how to hand the whole thing to an AI agent.
What Google asks before your first upload
The YouTube Data API is the official way to upload, and it works well once it is set up. The setup is the slow part. Google's docs list it plainly:
- Create or pick a project in the Google Cloud console, open the API Library and enable YouTube Data API v3.1
- Create an OAuth 2.0 client ID, because uploading is a write operation and write operations need OAuth, not an API key.1
- Configure the OAuth consent screen. Apps that request sensitive or restricted scopes go through Google's app verification, and Google's own example of a sensitive scope is deleting a YouTube video.2
- Until verification is done, users see an "unverified app" screen and the app is capped at 100 new users. Google says verification can take several months, depending on how sensitive the data is.3
- While the consent screen is in "Testing" for external users, refresh tokens expire after 7 days, so a cron job that uploads every week quietly breaks.4
- Each project gets a default quota of 100
videos.insertcalls a day, plus 10,000 units a day for everything else.5 An upload costs 1 unit in its own Video Uploads bucket.6 - More quota than the default means completing an API compliance audit through YouTube's audit and quota extension form, then waiting for the YouTube API Services team to reply.7
None of this is hard for a team with a product, a privacy policy and a verified domain. For a solo creator, a small agency or a script that should just post the Monday video, it is a lot of paperwork before a single byte moves.
Build on the YouTube Data API yourself vs PublishQ's API
| YouTube Data API, your own project | PublishQ API | |
|---|---|---|
| Google Cloud project | You create one and enable the API1 | Not needed |
| OAuth client and consent screen | You build and host the OAuth flow1 | You click Connect in PublishQ once |
| App verification | Required for public apps using sensitive scopes2 | Not needed |
| Token handling | Your code stores and refreshes tokens; Testing-mode tokens expire in 7 days4 | One pq_live_ key in an Authorization header |
| Upload quota | Default of 100 uploads a day per project, audit to raise it57 | No quota request and no audit on your side |
| Large files | Resumable upload protocol | Signed storage upload, files up to 4 GB |
| Other platforms | A separate integration for each one | Same call, add TikTok, Instagram or Facebook accounts |
If you are building your own YouTube product for thousands of users, Google's API is the right tool and the table above is the price of entry. If you want a video on your channel from code today, keep reading.
Before you start
Sign up at PublishQ, connect your YouTube channel from the dashboard, and create a key at https://publishq.com/app/api-keys. Put it in your shell:
export PQ_KEY="pq_live_..."The API is on every plan, the Free plan included. The full YouTube reference lives at the YouTube API docs.
Step 1: get your YouTube account ID
Ask for your connected accounts and filter to YouTube:
curl -s "https://publishq.com/api/v1/accounts?platform=YOUTUBE" \
  -H "Authorization: Bearer $PQ_KEY"
You get back an accounts array. Each entry has the PublishQ id you will post to, plus the channel name and handle so you can tell channels apart:
{
  "accounts": [
    {
      "id": "f0e1d2c3-b4a5-6789-0123-456789abcdef",
      "platform": "YOUTUBE",
      "platformName": "My Channel",
      "platformUsername": "@mychannel"
    }
  ]
}
Copy the id. It does not change, so you can store it in your script's config.
Step 2: upload the video
For a file up to 100 MB, one multipart request does it:
curl -s -X POST https://publishq.com/api/v1/media \
  -H "Authorization: Bearer $PQ_KEY" \
  -F "[email protected]"
A long video passes 100 MB fast, so here is the storage upload, which takes files up to 4 GB. First tell PublishQ the name, type and exact size in bytes:
curl -s -X POST https://publishq.com/api/v1/media/uploads \
  -H "Authorization: Bearer $PQ_KEY" \
  -H "Content-Type: application/json" \
  -d "{\"filename\":\"launch-video.mp4\",\"contentType\":\"video/mp4\",\"fileSize\":$(wc -c < launch-video.mp4)}"
The response holds the media id and a signed uploadUrl. PUT the file straight to that URL. It goes to storage, not to the PublishQ API, so it carries no Authorization header:
curl -X PUT "$UPLOAD_URL" \
  -H "Content-Type: video/mp4" \
  --upload-file launch-video.mp4
Storage answers 200 with an empty body. The uploadUrl is good for 1 hour. There is an optional complete call that adds the file to your media library right away, but you can skip it: using the id in a post does the same. The media uploads guide covers folders and the error codes.

Step 3: create the post
The post's content is the YouTube title, up to 100 characters. Everything YouTube-specific goes in platformSpecificSettings:
curl -s -X POST https://publishq.com/api/v1/posts \
  -H "Authorization: Bearer $PQ_KEY" \
  -H "Content-Type: application/json" \
  -d '{
    "content": "I rebuilt my publishing pipeline in a weekend",
    "mediaIds": ["e1d2c3b4-a5f6-4789-9012-3456789abcde"],
    "accounts": [{
      "accountId": "f0e1d2c3-b4a5-6789-0123-456789abcdef",
      "platformSpecificSettings": {
        "description": "Write-up and config files are linked below.",
        "privacyStatus": "unlisted",
        "categoryId": "28",
        "tags": ["automation", "publishing"],
        "madeForKids": false
      }
    }],
    "publishNow": true
  }'
That is the whole upload. A few details worth knowing:
- Swap
"publishNow": truefor"scheduledAt": "2026-12-01T09:00:00Z"to schedule it. Leave both out and the post waits in PublishQ as a draft. privacyStatusispublicwhen you leave it out. The description takes up to 5000 characters and tags up to 500 characters in total.- A title over 100 characters is refused with an error, not cut short, so you find out before anything goes live.
- For a custom thumbnail, upload a JPEG or PNG the same way and pass its ID as
thumbnailMediaId. YouTube only accepts custom thumbnails on verified channels. If yours is not, the video still publishes and PublishQ tells you why the thumbnail was refused. - A vertical 9:16 video of 3 minutes or less becomes a Short on its own. There is no flag to set. The Shorts safe zone checker shows where YouTube's buttons will cover your frame.
Every field is listed in the create posts reference, and the YouTube limits page has the file and length limits YouTube enforces.
The same three steps without curl
In Node, the SDK picks the right upload method for the file size, so the upload is one line: await publishq.media.upload({ file }). From a terminal or a CI job, the CLI does the same with pq media upload --file ./launch-video.mp4, then pq posts create --content "Title" --account <id> --media-id <id>. Both return JSON.
Let an agent make the calls
If you would rather describe the upload than write it, Claude Code, Cursor and Codex can run these steps for you through PublishQ's MCP server. In Claude Code:
claude mcp add --transport http publishq https://publishq.com/mcpThen run /mcp, pick Authenticate and approve the login in your browser. Ask for "upload ./launch-video.mp4 to my YouTube channel as unlisted, title it X" and the agent calls publishq_list_accounts, publishq_upload_media and publishq_create_post, the same three steps. The YouTube MCP walkthrough for Claude Code goes further.
Setup guides for other agents:
| Agent | YouTube setup |
|---|---|
| Claude Code | https://publishq.com/claude-code/youtube |
| Cursor | https://publishq.com/cursor/youtube |
| Codex | https://publishq.com/codex/youtube |
| Claude Cowork | https://publishq.com/claude-cowork/youtube |
| Gemini CLI | https://publishq.com/gemini-cli/youtube |
| Kiro | https://publishq.com/kiro/youtube |
| Manus | https://publishq.com/manus/youtube |
| Muse | https://publishq.com/muse/youtube |
| OpenClaw | https://publishq.com/openclaw/youtube |
| Hermes Agent | https://publishq.com/hermes-agent/youtube |
For any other agent, open https://publishq.com/agents and paste the line at the top of that page into your agent. It sets itself up and sends you a link to approve the login in your browser.

Start uploading
The Google Cloud route is still there if you need it. If what you need is a video on your channel from a script or an agent this afternoon, skip the console: create a PublishQ account, connect your channel and run the three calls above. More on the endpoints is on the YouTube API page.
Footnotes
-
Obtaining authorization credentials - YouTube Data API (2026-11) - project creation, enabling YouTube Data API v3, OAuth 2.0 client ID required for write requests ↩ ↩2 ↩3 ↩4
-
App verification to use Google Authorization APIs (2026-11) - apps requesting sensitive or restricted scopes need verification; deleting a YouTube video given as an example of a sensitive scope ↩ ↩2
-
Unverified apps - Google Cloud Platform Console Help (2026-11) - unverified app screen, 100 new user cap, verification can take several months ↩
-
Using OAuth 2.0 to Access Google APIs (2026-11) - refresh tokens expire in 7 days for external apps in Testing status ↩ ↩2
-
YouTube Data API Overview (2026-11) - default quota of 100 videos.insert calls and 10,000 units per day ↩ ↩2
-
Videos: insert - YouTube Data API (2026-11) - upload costs 1 unit in the Video Uploads quota bucket, 100 calls per day ↩
-
Quota and Compliance Audits - YouTube Data API (2026-11) - audit required before requesting quota beyond the default, via the Audit and Quota Extension Form ↩ ↩2